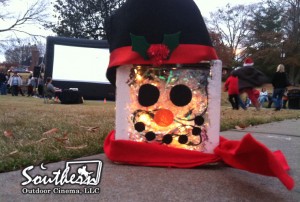
It’s Christmas time and it’s Southern Outdoor Cinema’s favorite time of the year. There are so many different cinema elements that you can add to your holiday screening to create a festive outdoor movie experience. Today we are going to show you how to make a lighted glass block snowman that you can use to light up your venue’s path or place it at your concession stand. This snowman is cute. The lighted snowman cinema element is so easy to make, it would be a great project for school children to create for a PTA family movie night.
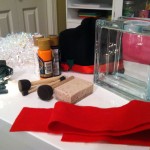
You will need:
Glass Block, Christmas lights, Acrylic Paint, Red Felt, 1 3/4″ Spouncer, 3/4″ Spouncer and Gift Filler
Instructions:
Step 1: Sponge white paint onto the edges of the front of the glass. Be sure not to make finger prints on the glass. Also do not cover the entire surface of the glass.
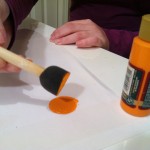
Step 2: With your 1 3/4″ Spouncer lightly dab two eyes onto the glass. To make the nose, dap one orange circle. With a the 3/4″ Spouncer make several small dots to form the smile.
Step 3: Allow 24 hours to dry.
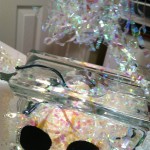
Step 4: Add gift filler and Holiday lights into the center of the glass block through the provided hole.
Step 4: With the red felt tie on a scarf around the bottom of the glass block.
Step 5: Place the hat over the battery pack of the Holiday lights.


